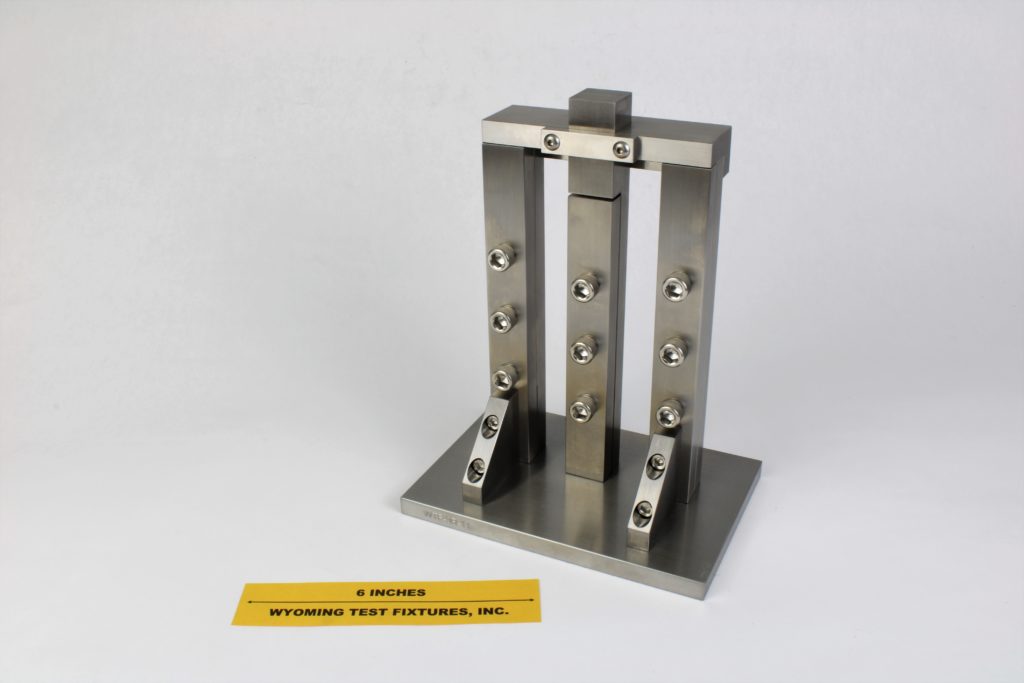
Three-Rail Shear Test Fixture (ASTM D4255)
Model No. WTF-3R (Stainless Steel)

Fig. 1: Assembled Three-Rail Shear Fixture, without specimen
The Three-Rail Shear Test Method and associated fixture are described as Method B in ASTM Standard D 4255 (Reference 1). It became an ASTM standard in 1983.
The specimen is 6" long and 5 3/8" wide, and of the desired thickness. Nine 1/2" diameter holes in the specimen provide clearance for the bolts which clamp each of the three pairs of rail halves to the specimen. That is, a bolt passes through one half of the rail, through the corresponding clearance hole in the specimen, and threads into the mating rail half. The inner (gripping) surfaces of the rails are coated with tungsten carbide particles.
The side rails are attached to the fixture base. The center rail moves in a slot in the top bar of the fixture. Sufficient clearance is provided between the bottom of the center rail and the base of the fixture so that contact does not occur during a test. The fixture, with specimen installed, is placed unconstrained on the flat base of the testing machine. A flat platen in the crosshead of the testing machine is used to apply a compressive loading on the top end of the center rail, loading the specimen in double shear.
Details of specimen preparation and installation, and a complete test procedure, are included in ASTM Standard D4255. This standard also includes the two-rail shear test method, as Method A, this fixture also being available from Wyoming Test Fixtures, Inc. The two-rail version has the advantage of utilizing a smaller specimen, with only six rather than nine holes to prepare. However, the three-rail version is attractive because it loads the specimen symmetrically.
Source of Additional Information:
1) ASTM Standard D4255-01 (2007), "Guide for Testing In-Plane Shear Properties of Composite Laminates," American Society for Testing and Materials, West Conshohocken, Pennsylvania (first published in 1983).

