Specimen Tabbing Fixtures

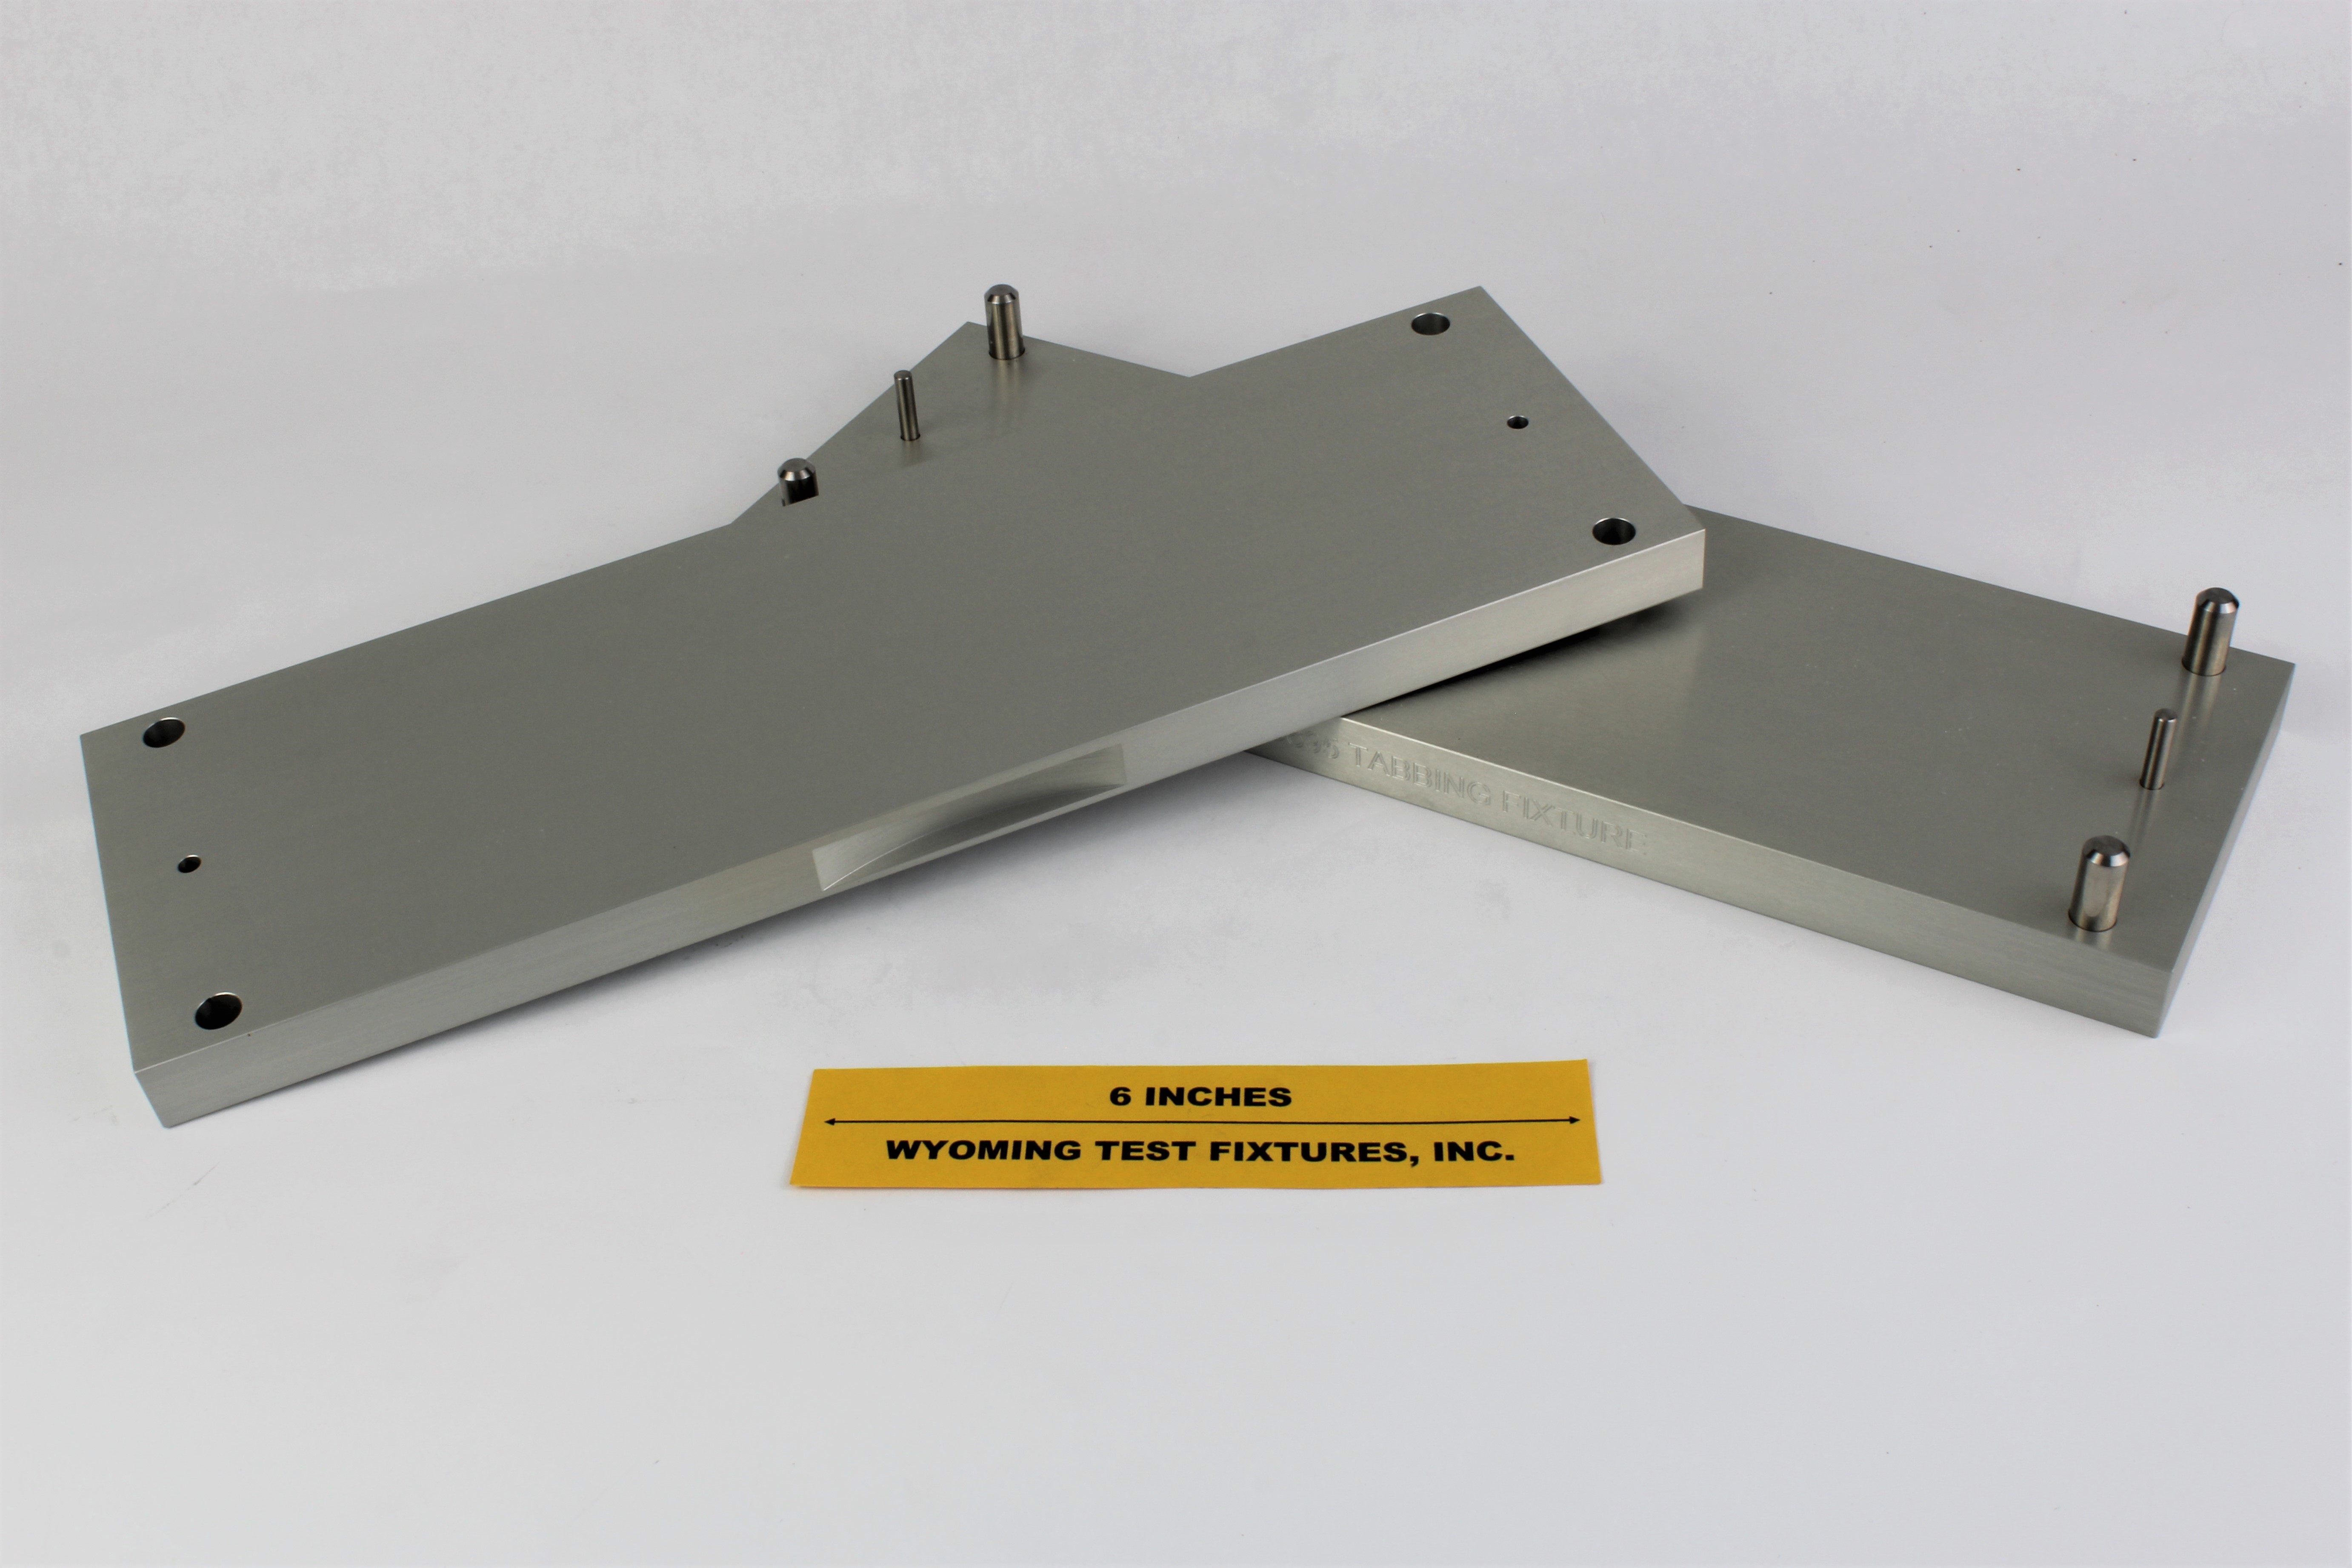
Fig. 1: Modified ASTM D695 Compression Specimen Tabbing Fixture.

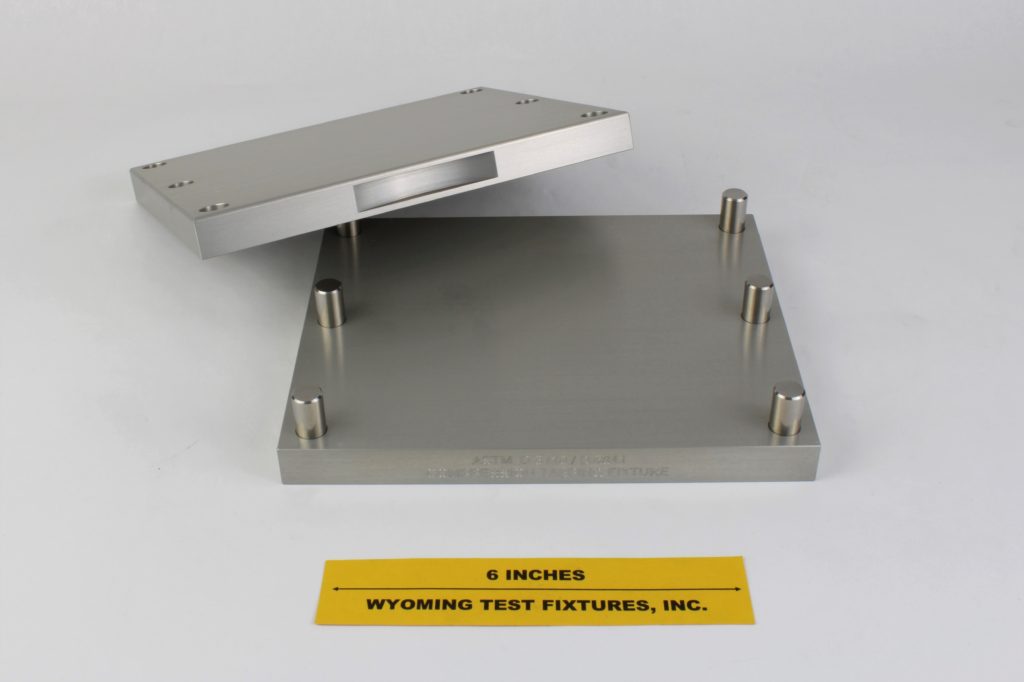
Fig. 2: ASTM D3410 IITRI/Celanese Compression Specimen Tabbing Fixture.
Bonding tabs onto test specimens accurately and efficiently can be a challenge. In addition to the test material itself, there are four strips of tabbing material to maintain in proper alignment, each strip being coated with an adhesive which causes it to slide around readily.
It was discovered long ago that it is easier to tab a plate of the test material and then slice it into individual specimens, rather than to tab specimens individually. The tabbing fixtures shown here aid in this process.
A typical fixture consists of two plates, aligned with each other via pins in the base plate that slip into close-fitting mating holes in the cover plate. Finger lifts are provided in the cover plate to aid in handling. Typically these plates are fabricated of high strength, anodized aluminum, although stainless steel can also be used. Aluminum has a high thermal conductivity, which is desired.
Two strips of the tabbing material, coated with the adhesive of choice (typically either a paste adhesive or a film adhesive), are placed adhesive side up on the base plate, indexed against pins that establish the specimen gage length. The specimen panel is then positioned on top of these tabbing strips. Then follow two more adhesive-coated strips of tabbing material, placed adhesive side down against the specimen panel and indexed against the same indexing pins as the first two tabbing strips. The cover plate is then installed. This assembly is placed between the platens of a heated platen press to cure the adhesive. If a press is not available, it may be possible to place weights on top of the cover plate to provide sufficient compaction force, and the assembly placed in an oven. Of course, some adhesives can be cured at room temperature and no external heat is required.

