Compression Test Fixtures
Compression test methods may be classified by the method of load introduction into the test specimen: side loading, end loading, or combined loading. For composite materials, standardized test methods are commonly used from each of these three categories. Additional test methods and accessories used in compression testing of composite materials, sandwich composites, and other materials are also shown.
Specialized types of compression tests are also commonly performed to determine the notch sensitivity and damage tolerance of composite materials. Test fixtures for these specialized types of compression tests are also included.
Standard Fixtures
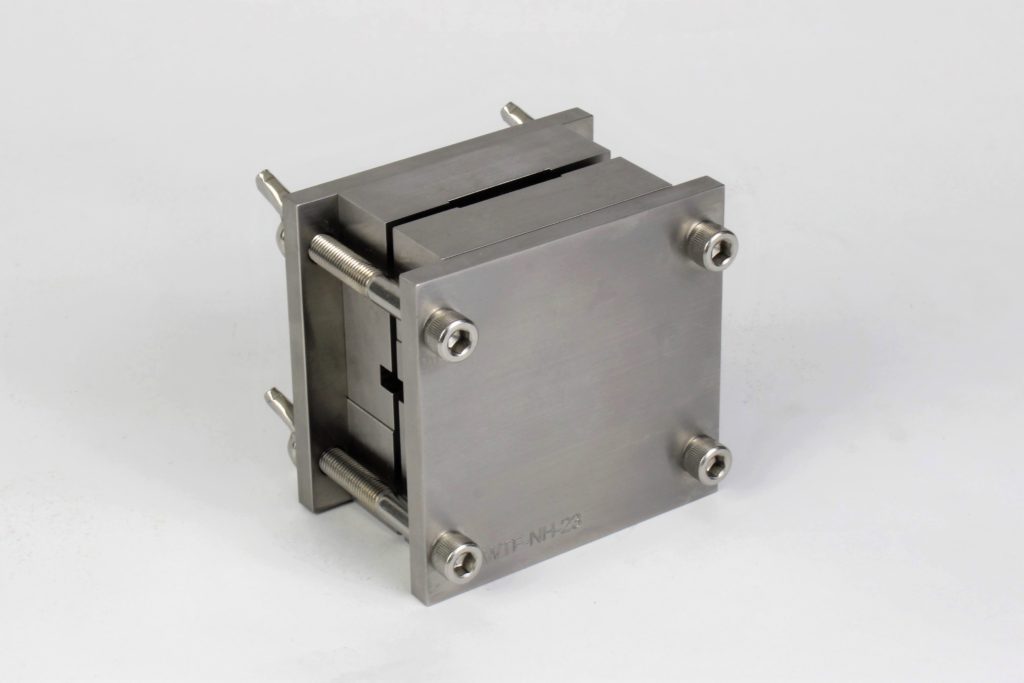
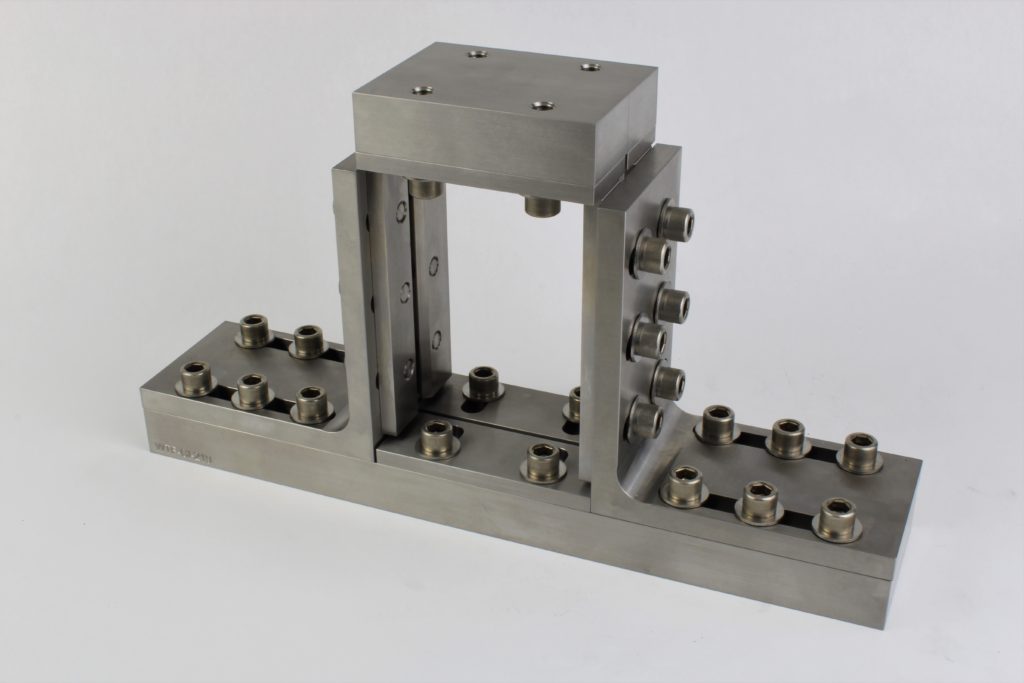
B-1:Wyoming Combined Loading Test Fixture
ASTM D6641
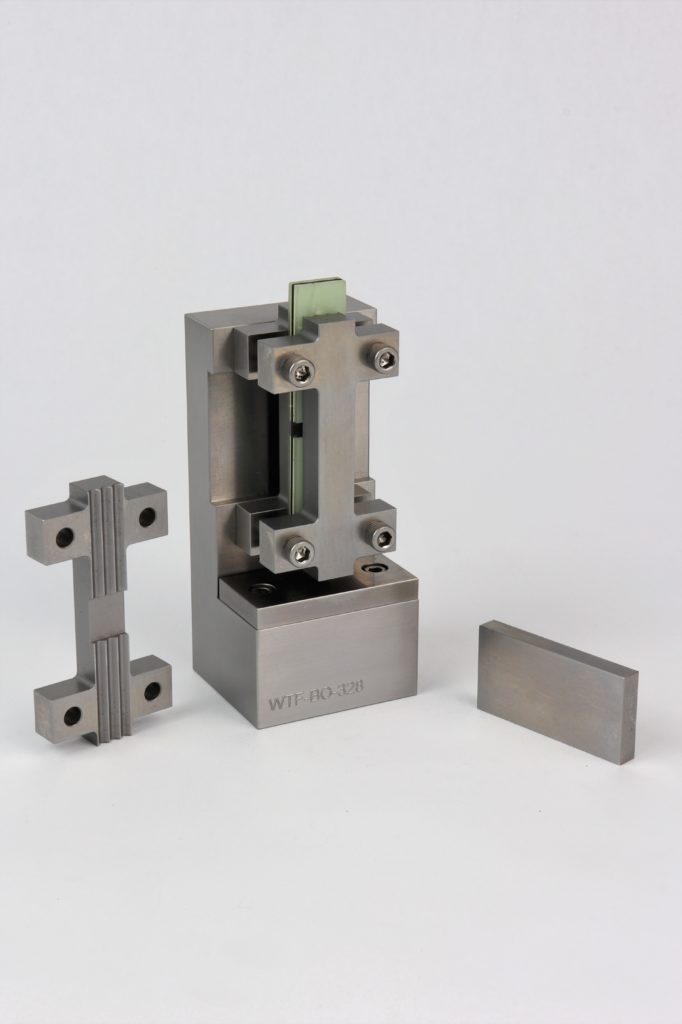
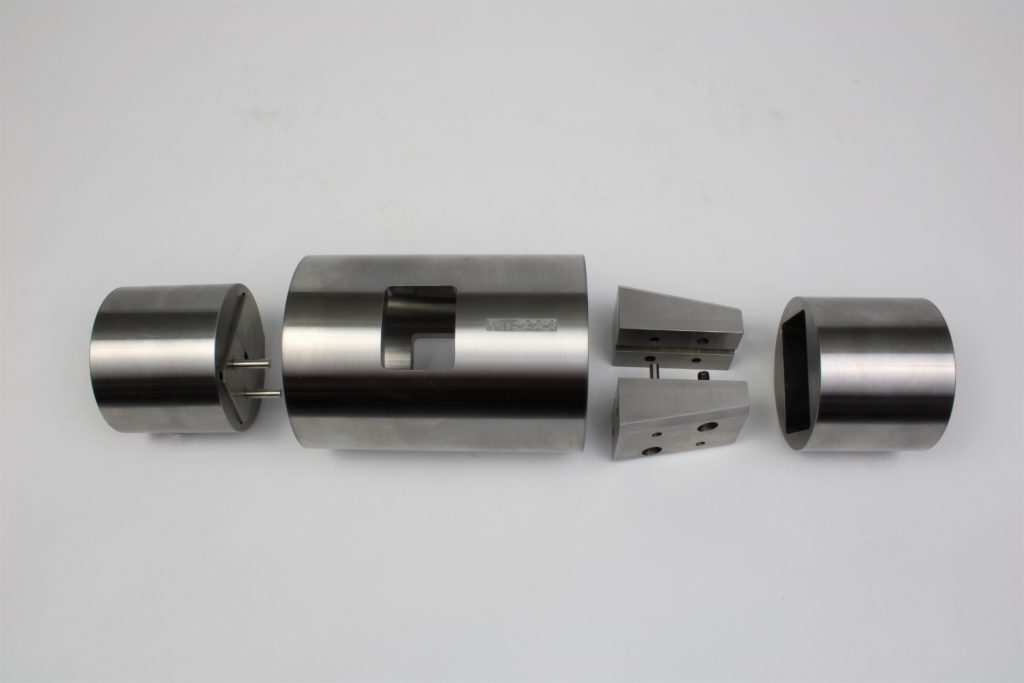
The Wyoming Combined Loading Compression Test Fixture is the preferred compression test method. Using both end- and shear-loading, materials of moderate strengths can be tested untabbed with minimal specimen preperation. A relatively compact design allows for easier testing in non-ambient environments.
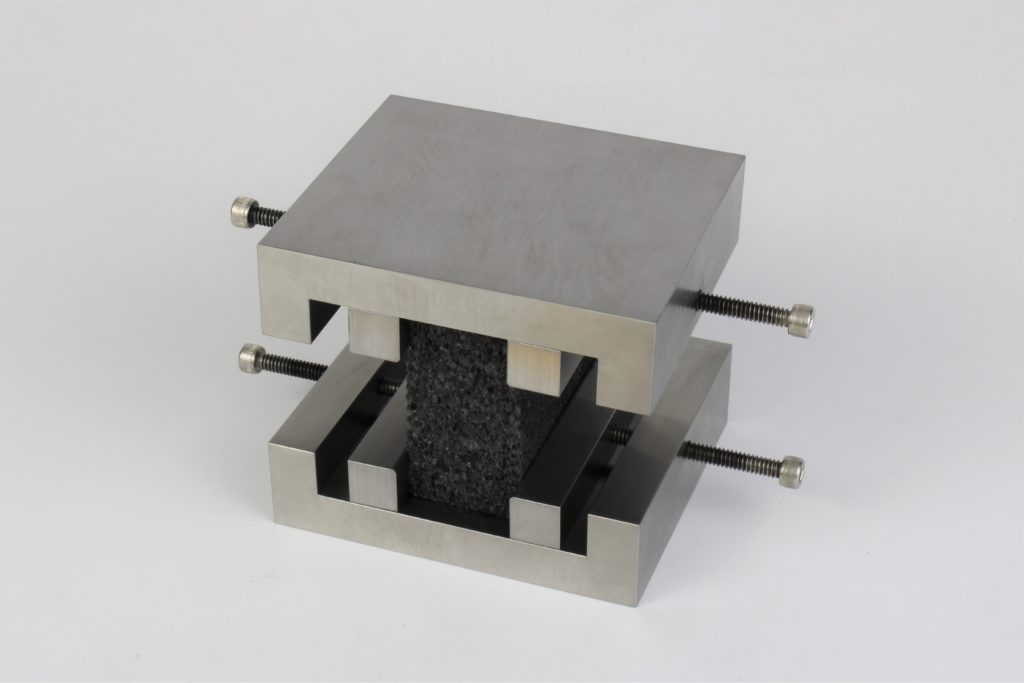
B-2:Modified ASTM D695 Test Fixture
Boeing BSS 7260
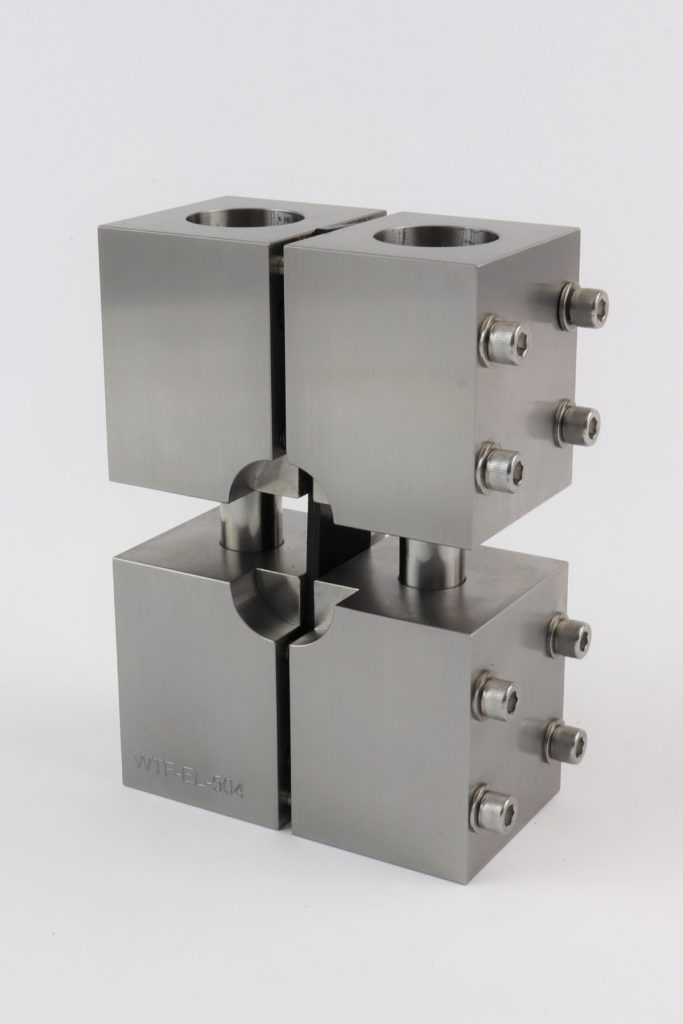
While not an ASTM standard, this end-loading test method is used widely within the composite materials community. Compressive strength and modulus can be tested but require separate tests. Specimen tabbing is required when testing for strength to avoid end crushing.
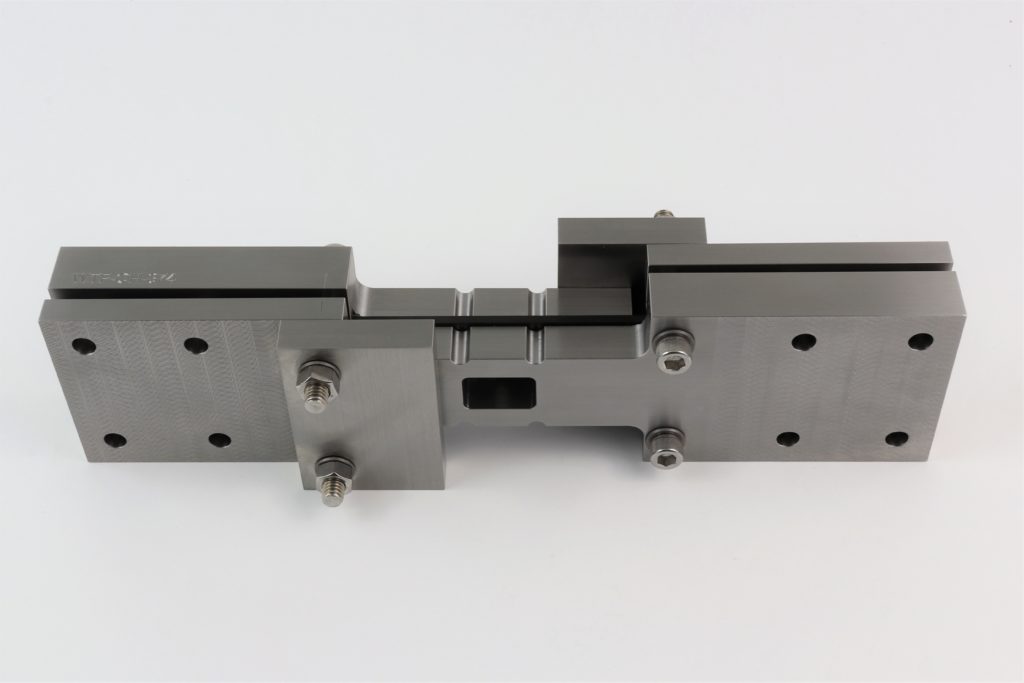
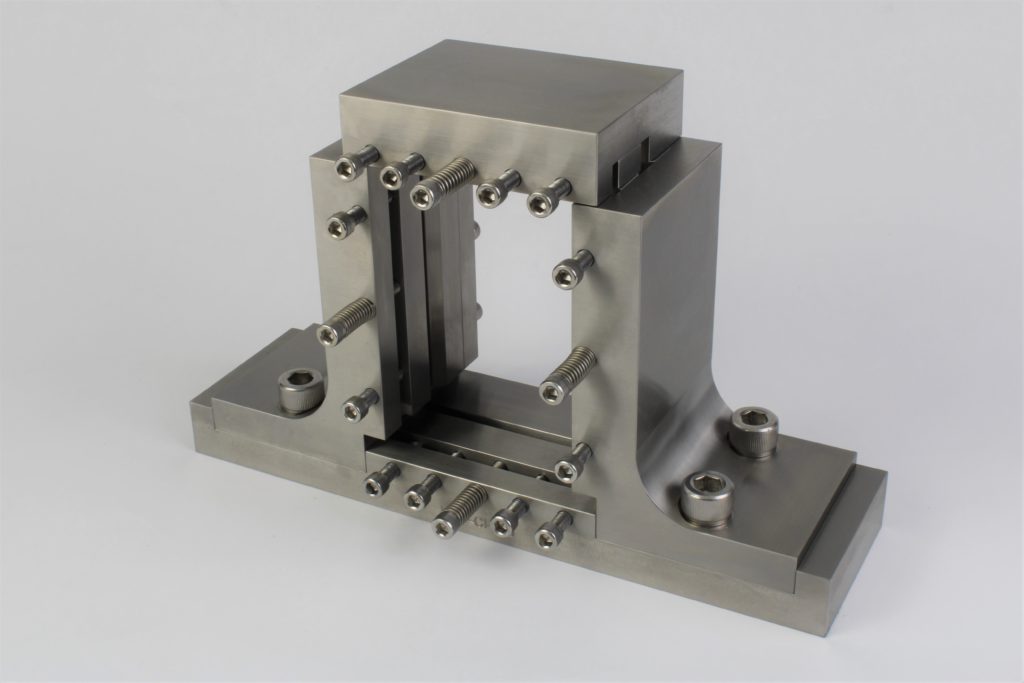
B-3:IITRI Compression Test Fixture
ASTM D3410
The IITRI fixture tests a tabbed, straight-sided specimen via shear-loading. Specimens up to 0.6 in. (15 mm) thick and 1.5 in. (38 mm) can be tested for strength, modulus, and Poisson's Ratio. However, the fixture is robust to accommodate loading blocks, weighing 95 lb/ 43 kg.
B-4:Wyoming Modified IITRI Test Fixture
Model No. WTF-WI
Similar to the standard IITRI fixture, the modified fixture was designed to test a tabbed, straight-sided specimen. This modified design was slimmed down to accommodate specimens of widths up to 0.5 in. (13 mm) (a standard width for compression specimens) while weighing only 23 lb/ 10 kg.
B-5:Celanese Compression Test Fixture
Formerly ASTM D3410
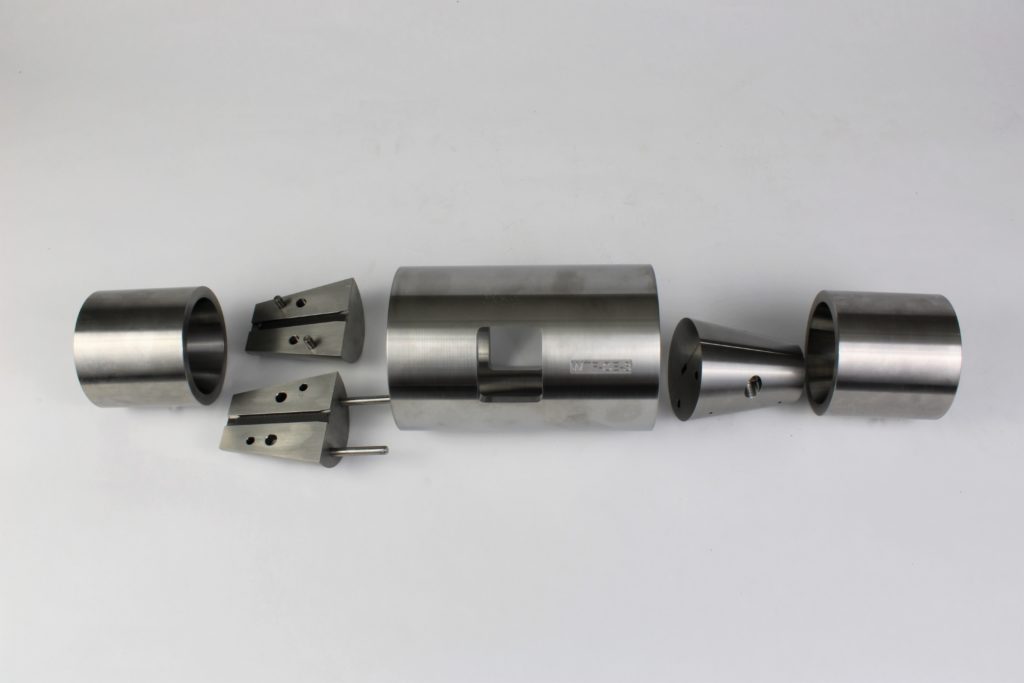
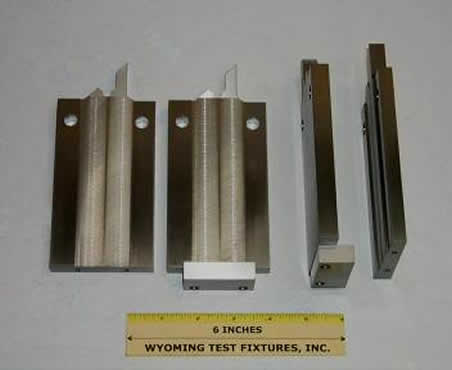
An ASTM standard from 1975-2003, the Celanese method requires a tabbed specimen of precise thickness, shear-loaded via split cone grips. The fixture is fairly light weight, but requires extensive specimen preparation and is prone to erratic results if not tested with extreme care.
B-6:Wyoming Modified Celanese Test Fixture
Model No. WTF-WC
This modified design shear-loads a tabbed specimen using tapered circular cylindrical wedge grips, allowing for a range of allowed specimen thickness. Alignment rods in linear bearings are used to decrease friction and increase alignment.
B-7:German DIN 65 380 Modified Celanese Test Fixture
Model No. WTF-GC
An improvement over the original, the German DIN 65 380 Modified Celanese uses tapered flat wedge grips instead of split conical grips. Unlike the Wyoming Modified Celanese, the German DIN retains the external alignment sleeve of the original design, which can bind during the test.
B-8:Compression Subpress Test Fixture
ASTM D695
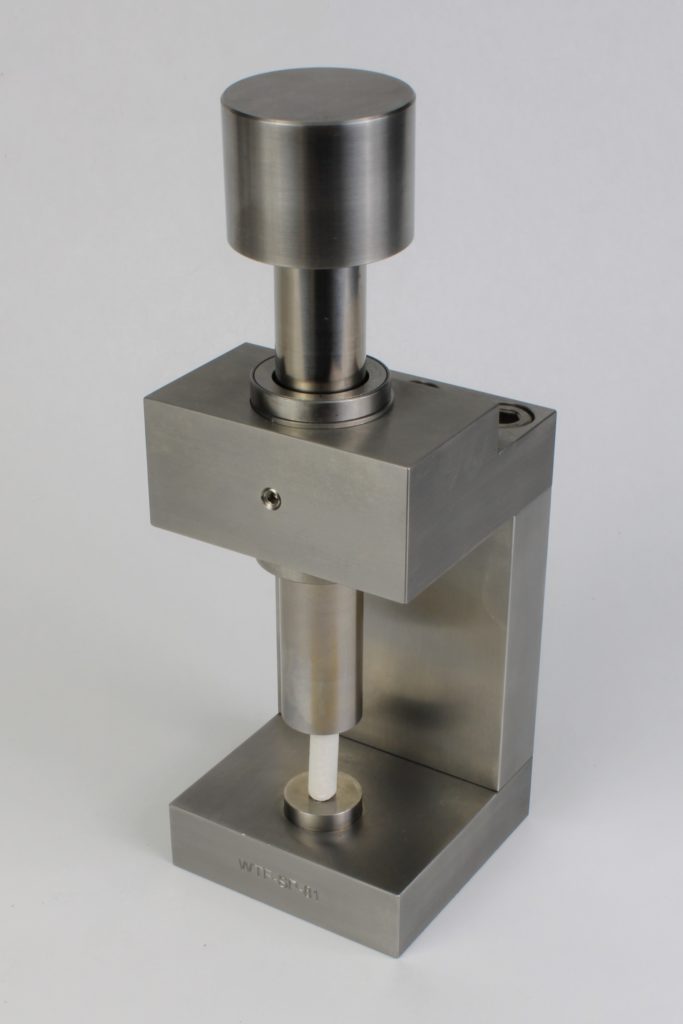
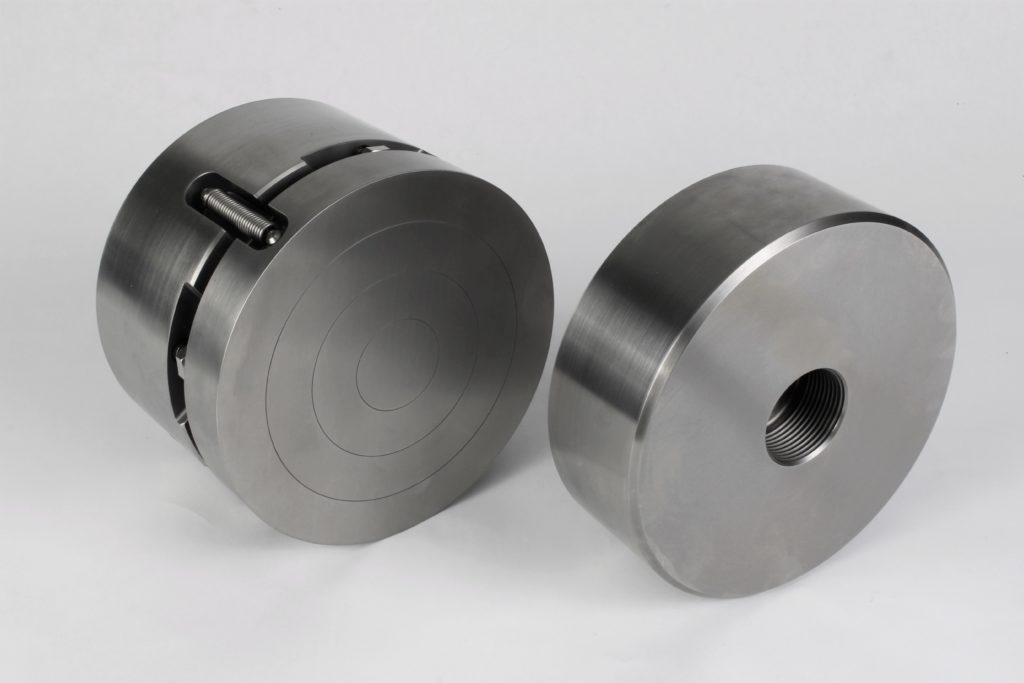
ASTM Standard D695 recommends using a subpress to test an unsupported cylindrical specimen. The subpress can also be used to ensure that a separate test fixture is loaded axially.
Wyoming Test Fixture stocks fixed and spherical seat platens made of 440c heat treated steel. Platens are typically 6 in. (152 mm) in diameter but can be supplied in any diameter.
The sandwich panel is lightly clamped into the test fixture at both ends and subjected to a compressive force parallel to the plane of the panel. As the name suggests, force is introduced primarily at the ends of the face sheets.
Notched Testing Fixtures
Notched testing refers to the uniaxial testing of a composite laminate with a small circular hole, under either tension or compression loading. In contrast to metals, the stress concentrations and strength reductions due to holes are extremely difficult to predict, even using current state-of-the-art finite element analysis (FEA) methods. Therefore, notched testing continues to be used to experimentally determine these strength reductions.
First developed by Boeing, this method has become by far the most popular open-hole test method. A 12 in. long by 1.5 in. wide specimen has a 0.25 in. diameter hole in the center. Shear- and end-loading applies a compressive force.
C-2:Northrop Open-Hole Test Fixture
NAI-1504C
While not as popular as the Boeing test method, the Northop Open Hole Compression test method uses a significantly smaller specimen, thus saving material. A 0.25 in. hole is standard for both tests.
Compression After-Impact Testing Fixtures
Damage from uncontrolled defects has long been a concern when working with brittle composite materials. Three different groups (Boeing, Airbus, and NASA) developed test methods to quantify such damage, consisting of a specific impact event followed by an in-plane compression loading to failure.
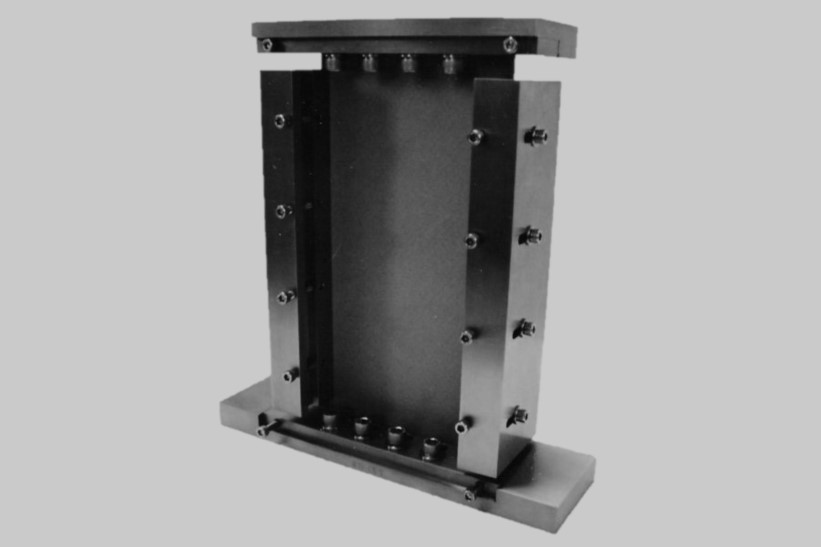
The Boeing CAI method uses a (typically) quasi-isotropic laminate 6 in. long, 4 in. wide, and approximately 0.2 in. thick. A drop weight impact apparatus locally damages the laminate, which is then tested to compressive failure. All four edges of the specimen are simply supported during testing by the fixture.
Airbus's CAI test method is similar to Boeing's but defined in S.I units. Additionally, the Airbus fixture includes screws to forcibly push the support plates against the test specimen. However, the effective specimen boundary conditions are still “simply supported”, the same as for the Boeing fixture.
Much less commonly used than either the Boeing or Airbus fixtures, the NASA CAI fixture uses a similar method but with minimum specimen dimensions of 10 in. long by 7 in. wide. After being impacted, the width is trimmed to 5 in.. This larger specimen requirement is what prompted the development of Boeing's CAI method.
While not as widely used, other test fixtures, such as those defined in the Lockheed Martin F-22 Program test methods, can be supplied at a cost not significantly higher than that of more widely used fixtures.

